
Backwoods Blacksmithing: Transform Scrap into Survival Tools
Don't wait for help—forge it!
Be equipped with the essential metalworking skills needed to create and repair tools in the wild.
Learn the basics of backwoods blacksmithing and become a true artisan of survival.
Constructing a Robust Wilderness Forge
Creating a reliable forge in the wilderness involves more than stacking rocks and lighting a fire.
Here’s an in-depth, step-by-step process on building a durable, efficient forge using minimal, locally sourced materials:
Stone Selection – Opt for dense, non-porous stones to handle high temperatures. River stones should be avoided as their moisture content can cause them to explode when heated.
Clay Sourcing – Harvest clay from a nearby stream bed. Knead it to a consistent texture, making sure it's free of stones and organic material as these can create weak points when heated.
Airflow System – If metal pipes are unavailable, create a tuyere from clay reinforced with sand and straw. Shape it while wet and allow it to dry near your heat source, turning it occasionally for even drying.
Forge Design
Pit Design – The forge should be about 18 inches deep to concentrate the heat and protect your fire from wind. The diameter should be wide enough to accommodate larger pieces of metal, but not so wide that heat disperses too quickly.
Tuyere Placement – Position the air pipe so that it enters the pit at the base and at a slight angle. This positioning helps direct the airflow under the fuel bed, optimizing heat generation and fuel efficiency.
Fuel Source – While charcoal is preferred due to its ability to reach higher temperatures, creating your own charcoal by carbonizing wood in a low-oxygen environment adds another layer of self-sufficiency to your skills.
Operating Your Forge
Igniting and Maintaining Fire – Use a tinder bundle made from birch bark or dried grasses to start your fire. Gradually introduce hardwood charcoal, controlling airflow with a bellows or improvised blower to maintain necessary heat levels.
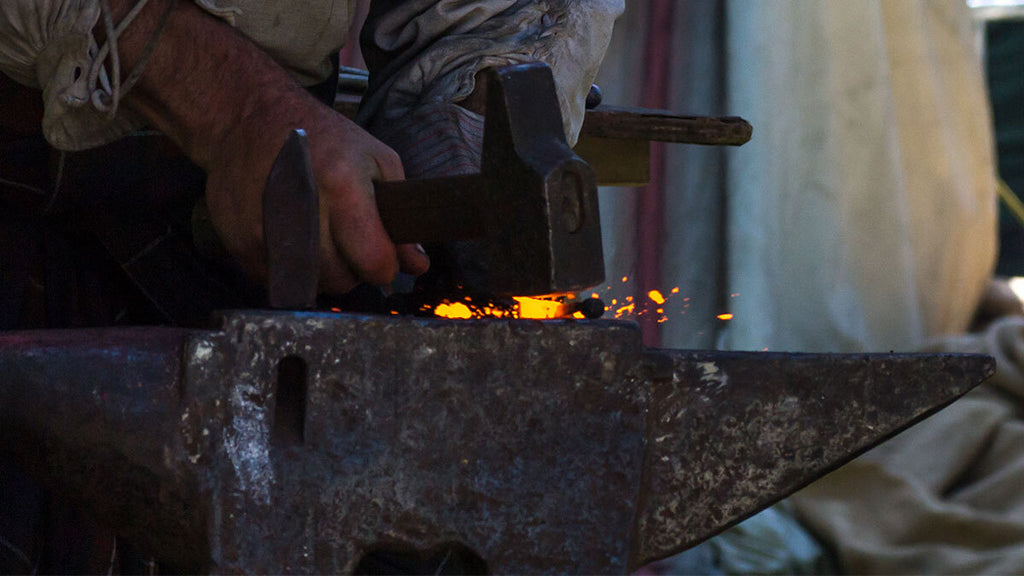
Heat Management – Regularly monitor the metal's color in the forge—transitioning from red to orange to bright yellow as temperatures increase—indicating it’s ready to work.
Safety Protocols – Establish a safety zone around the forge. Regularly clear the area of flammable materials and always keep extinguishing materials—like sand or water—within reach to manage any sparks or stray embers effectively.
Mastering Fundamental Blacksmithing Techniques
Once your forge is operational, the next step is refining your technique to manipulate metal accurately and safely:
Monitoring Metal Color – Learning the color temperatures of metal is crucial. Bright cherry red, around 1,200°F, is suitable for bending and shaping. Orange, around 1,600°F, is good for more intensive forging. Yellow, around 2,000°F, is typically used for welding operations.
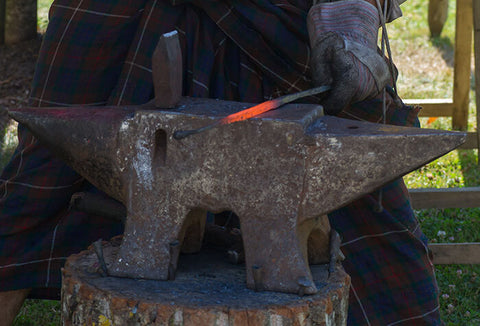
Uniform Heating – Rotate the metal periodically to expose all sides to the core of the fire, ensuring even heat distribution and preventing weak spots.
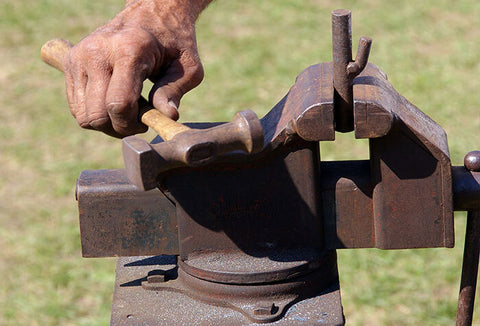
Hammering Techniques – Use the peen of the hammer for stretching metal, and the flat face for smoothing and shaping. Adjust your swing to the thickness of the metal; gentler for thin metals, stronger for thick pieces.
Anvil Work – Utilize different parts of the anvil for various shaping needs. The round horn helps in bending and forming curves, the flat top is used for general forging, and the hardy hole for cutting or punching through metal.
Quenching and Tempering
Quenching Process – This involves plunging the hot metal into water or oil to rapidly cool it, locking in the hardness. Move the metal around in the quenching medium for even cooling.
Tempering Steps – Heat the metal to a lower temperature to reduce brittleness. Colors appearing on the metal during this process, from straw-yellow to blue, indicate the temperature and thus the softness of the metal, allowing for fine-tuning of its properties.
Creating Essential Blacksmith Tools
A self-reliant blacksmith can create a range of tools. Here are essential techniques for forging common yet critical tools:
Blade Shaping – Begin by drawing out the length of the metal, then focus on forming the edge. Regularly check for symmetry and even distribution of material along the blade.
Handle Crafting – Handles need to be sturdy and comfortable. Choose materials like hardwood or antler that can be shaped to fit the hand and attached securely to the blade.
Head Forging – Start with a suitable piece of high-carbon steel. For axes, form the eye—the hole for the handle—by punching through the hot metal, then shape the blade. For hammers, balance the head around the handle point to ensure even weight distribution.
Handle Fitting – Whether for a hammer or an axe, ensure the handle is robust and properly fitted. A loose handle can be dangerous and ineffective.
Tactical and Strategic Metalworking Tips
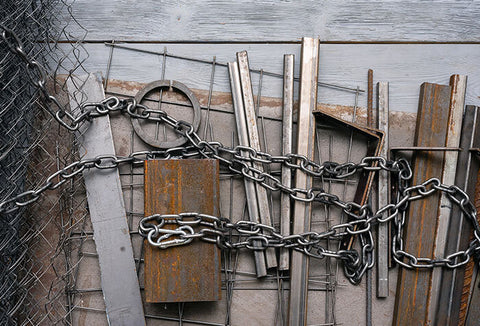
Resource Utilization – Always look for materials that can be repurposed. Old car parts, railroad spikes, and scrap metal can all be transformed into useful tools.
Strategic Planning – Prioritize tools that will provide the most immediate benefits for survival, such as blades for hunting or cutting tools for shelter building.
By mastering these basic metalworking skills, your survival toolkit is well-equipped to handle any challenges you might face in the wild.
Remember, the goal of backwoods blacksmithing is not just to repair, but to innovate and adapt with the resources at hand.