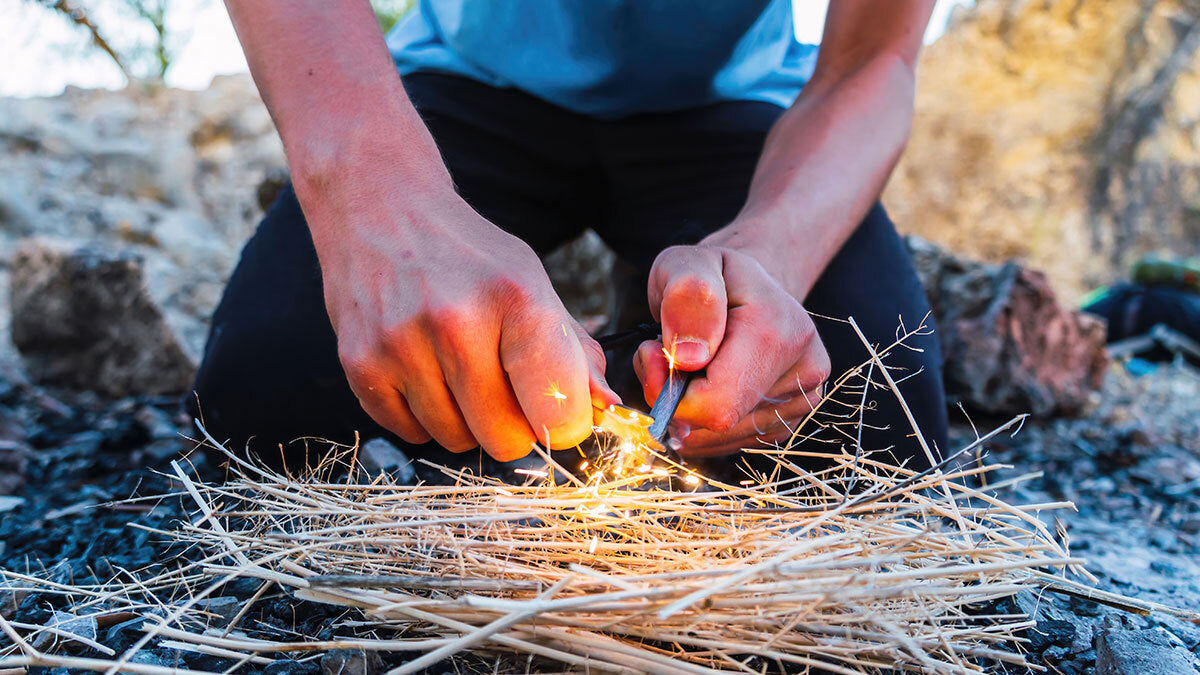
Survival hinges on your fire game. Can you light one anytime, no matter the conditions?
Here's your tactical guide for ignition in every scenario. See how to master fire-starting and be combat-ready for whatever nature throws at you.
Fire Ignition Techniques
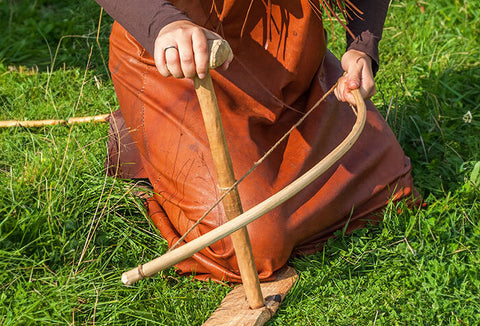
BOW DRILL
- Gather Materials – You need a softwood board for the fireboard, a hardwood spindle for the drill, a curved piece of wood for the bow, and a stone or piece of hardwood for the bearing block.
- Prepare the Fireboard – Cut a notch in the edge of the fireboard. This is where your spindle will spin. Near the notch, carve a small depression where the tip of the spindle will sit.
- String the Bow – Use a strong, flexible cord to string the bow. The cord should be tight enough to spin the spindle, but not so tight that it can't turn easily.
- Position the Spindle – Place the spindle into the depression on the fireboard. Hold the top of the spindle with the bearing block to apply pressure.
- Start Drilling – Use the bow to spin the spindle. Move the bow back and forth smoothly. The friction will produce fine wood dust that collects in the notch.
- Create an Ember – Continue drilling until the wood dust smokes and forms an ember. Gently transfer this ember to your tinder nest and blow it into flame.
[RELATED READ: Bushcraft Knife Skills: Essential Techniques for Wilderness Survival]
HAND DRILL
- Select Materials – Find a straight and dry softwood stick for the spindle and a larger, flat piece of softwood for the fireboard.
- Prepare the Fireboard – Carve a shallow depression in the center of the board. Near this depression, cut a V-shaped notch that extends to the edge of the board.
- Use the Spindle – Place the tip of the spindle in the depression. Roll the spindle between your hands, moving them quickly up and down the spindle to create friction.
- Generate an Ember – As you spin the spindle, wood dust will accumulate in the notch and start to smolder. Continue until you create an ember, then transfer it to a tinder nest.
POTASSIUM PERMANGANATE AND GLYCERIN
- Prepare Your Area – Clear a safe, non-flammable surface. Have your tinder nest ready nearby.
- Measure the Chemicals – Sprinkle on a small pile of potassium permanganate. You won’t need much, just enough to cover the center of a coin.
- Initiate the Reaction – Add a few drops of glycerin to the potassium permanganate. Stand back after adding the glycerin, as the reaction can take a few seconds to a minute.
- Ignite Your Tinder – Once the mixture starts to smoke and ignite, quickly place it under your tinder nest. Blow gently to encourage flames.
BRAKE FLUID AND CHLORINE POWDER
- Exercise Extreme Caution – This method is highly dangerous and should only be used as a last resort with adequate safety precautions.
- Prepare Your Area – Use a non-flammable surface and keep all flammable materials at a distance. Have water or a fire extinguisher nearby.
- Mix the Chemicals – Sprinkle chlorine powder on a flat surface. Slowly add brake fluid to the powder, drop by drop.
- Stand Back – The reaction can be immediate and vigorous, producing flames and possibly an explosion. Once it ignites, use it to start your fire carefully.
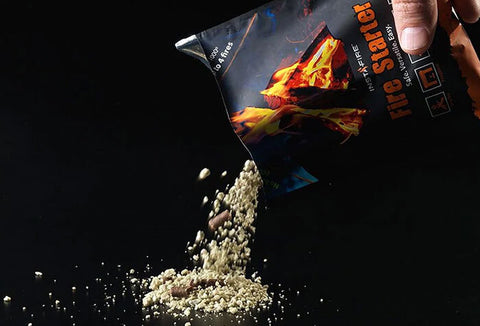
FIRE STARTER POUCHES
- Prepare the Fire Site – Clear a small area and create a bed of small twigs or kindling.
- Open the Pouch – Tear open the fire starter pouch and pour the contents onto your prepared bed.
- Ignite the Granules – Use a match or lighter to ignite the granules. InstaFire Fire Starter Pouches are designed to catch fire easily and burn steadily.
- Build Your Fire – Once the fire starter is burning, carefully add more kindling and then larger pieces of wood to build your fire.
[RELATED READ: Top 10 Ways to Start a Fire Without Matches or a Lighter]
Tinder Selection and Preparation
NATURAL TINDERS
Dry Grass – Look for tall, dead grass in open fields. It should be dry and fine. Avoid green or moist grass as they won’t ignite easily.
Leaves – Dry, dead leaves from the forest floor can be excellent tinder. Crumple them to increase surface area.
Bark – Birch bark contains oils that allow it to burn even when wet. Look for fallen birch trees or peel small pieces from dead branches. Cedar bark can also be shredded into fine fibers.
Fungi – Chaga and other tree fungi are excellent tinders when dry. Look for them on live or dead birch trees. Break into small pieces for use.
PROCESSED TINDERS
Char Cloth – Made by charring cotton cloth in a container with a small hole to allow gases to escape, but prevents oxygen from entering. Use pure cotton fabric, cut into small squares, then place in a metal tin over a fire until smoking stops.
Petroleum Jelly Cotton Balls – Soak cotton balls in petroleum jelly. The jelly acts as a waterproof barrier and fuel, making them easy to ignite as well as burn longer. Store them in a waterproof container for use.
In-Depth Environment Adaptation Techniques
INSIDE WOOD
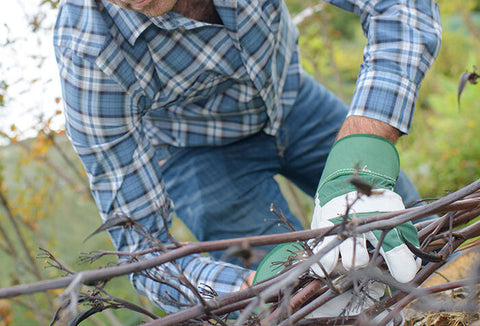
Collection – Look for fallen trees or branches that have been dead for some time, but are not rotten. The outer layers might be wet or frozen, but the inner wood is often dry.
Preparation – Use a knife or hatchet to split the wood into smaller pieces. The center of these logs is your target for dry tinder and kindling. Keep splitting until you find dry wood.
Usage – Once you’ve exposed the dry inner wood, shave it into thin slivers or create small chips. These pieces will catch fire more easily than larger, wet pieces.
RESIN-RICH WOOD
Finding Fatwood – Also known as "heartwood," fatwood is found in the stumps of pine trees where the sap has concentrated and hardened over time. It’s rich in resin and burns hot, even when wet.
Extraction – Look for old pine stumps, especially in areas where pine trees have been cut or fallen naturally. The resinous wood can usually be identified by its darker color and strong pine scent.
Preparation – Use a knife to shave thin slices of fatwood. These shavings can be used as tinder, and larger pieces can serve as excellent kindling.
BIRCH BARK
Collection – Find fallen birch trees or branches. Peel the bark in thin sheets; it should come off easily without harming living trees.
Preparation – Birch bark can be used as is, or shredded into finer pieces for quicker ignition. Its natural oils make it highly flammable.
Usage – Place a piece of birch bark under your kindling. It will catch fire easily and burn long enough to ignite the kindling.
[RELATED READ: 7 Ways to Eat a Tree]
Building Snow Pits and Insulation
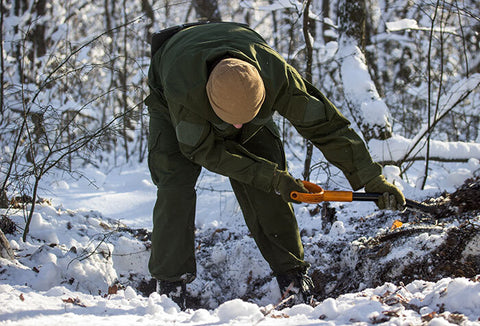
SNOW PITS
Digging – Use a shovel or your hands to dig a pit in the snow where you plan to build your fire. The pit should be deep enough to protect the fire from the wind, but allow for adequate ventilation.
Lining – If available, line the bottom of the pit with stones or green branches. This will insulate the fire from the cold snow and help reflect heat upwards.
Building the Fire – Start with your tinder and kindling in the center of the pit, gradually adding larger pieces of wood. The walls of the pit will help shield the fire from wind and concentrate heat.
INSULATION
Snow Walls – Around your fire pit or shelter, build walls out of snow. These walls will act as windbreaks and reflect heat back towards the fire or shelter, creating a warmer microclimate.
Reflectors – Position large flat rocks or logs around one side of your fire to act as a reflector. This will direct more heat towards your seating area or shelter entrance.
Floor Insulation – In a shelter, use branches, pine needles, or any available insulating material to create a barrier between you and the snow. This will prevent body heat from being lost to the frozen ground.
[RELATED READ: Deep Snow Movement Is the Ultimate Survivalist Art]
Remember, equipment is important but these techniques are your core survival toolkit. Stay prepared, adaptable, and always ready to ignite.
2 comments
Your articles are very informative in an easily explained way. I read every one. Thanks
I am recently retired but i look forward to trying some of your tips